
Here is a picture of all the parts that come in the kit. Sparg plugs, wires, the two control boxes, engine mounts for the sensors, and several other things.

I started with the step that made me the most nervous....drilling and tapping this VERY epensive engine. First you need to remove one of the propellor bushings that are pressed into the crankshaft. I used a wrench and two c-clamps....and some gentle taps from the hammer. Not gonna lie this was a pain in the butt.

With the bushing removed I marked and drilled the location needed for the engine sensor mount. I taped off the drill to mark the depth....I really didn't want to go too deep....that would be bad.

Once I drilled the holes I could tap the holes in the engine block.

After the engine was drilled and tapped I could try out the mounts. They need some tweaking to even make the installation work; which is a bit annoying when you spend this much on an ignition system. But I get that they try and make it work for every engine.

Next I started making a mount plate for the ignition coils. Here is the intitial test fit.

After the test fit I learned where it could be trimmed up. Then I riveted the mount flanges in place, painted it with high temp paint, and bolted it to the engine mount using Adel clamps.

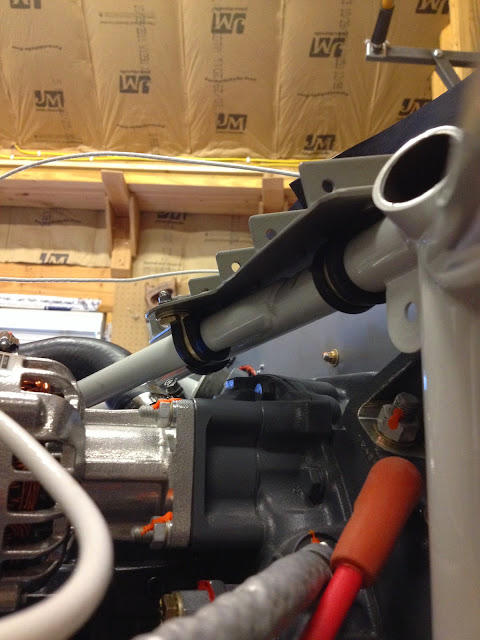
Here is a view from the under side to see the Adel clamps. Three Adel clamps, one of which is on the angled bar, allows for a solid install.
With the plate in place I screwed the ignition coils in place.

Ignition coils screwed in place with mechanical locking nuts, not nylon locking nuts. They're better for high temp areas.

The spark plug wires that come with the kit aren't long enough for half of the install so I had to make my own....actually very easy to do.

Here is the initial test fit of the spark plug wires I made. They still need to be secured in place.

Other side....you can see I started securing the wires in place with little tabs that attach to the lower valve cover screws.

My helper.

This comment has been removed by a blog administrator.
ReplyDelete