Tuesday, July 16, 2013

Completed Structure Overview (732.5hrs)

Now that the wings are complete it's time for an update to the big picture. The next step is hard to depict. I'll be working on the static lines in the tailcone and then attaching the tailcone to the fuselage, so I highlighted the area where it attaches as in work.

 732.5 hrs Total Building Time
   440.5 hrs is a mixture of tail and fuselage, both still have work to be done on them
   292.0 hrs of the total belong to the Wings (includes times listed below)
       75.25 hrs to the Fuel Tanks
       25.5 hrs to the Ailerons
       26.25 hrs to the Flaps
  
 Blue is completed and red is in work.
 

Finished the Wings!

The wings are finished! Wow it feels good to type that. Things were busy this weekend. My birthday was Friday, July 12, and what better way to spend your 30th birthday than skipping work and building your airplane? Or more importantly finishing the wings to your airplane. Jess took the day off as well and helped all day Friday. It was her first time using a rivet gun and she got the hang of it pretty quickly. The lower skins are a lot of work. You're on your knees crawling around on the floor sticking your arm into the wing and stretching to reach the rivet while holding the bucking bar and straining your shoulder muscles to push against the rivet while it's being bucked (that sentence is as long as the work is uncomfortable). Then repeat another 1.3 million times for all the other rivets.....it's exhausting. Despite the nicks, bruises, and soreness it feels great to have the wings completed!

Wed July 10th - 1.0hr - Installed aileron actuation torque tubes
Fri July 12th - 6.0hrs - Jess helped all day. We completed the upper row of rivets and most of the rivets on the ribs down to the J-channel on both wings
Sat July 13th - 4.5hrs -  Just kept riveting.
Sun July 14th - 7.75hrs - Finished riveting skins. Deburred, dimpled, installed inspection panels.
Mon July 15th - 1.5hrs - Finished odds and ends. Safety wired auto pilot roll servo. Installed bell cranks.


The Pitot Mast is installed. I'm going to wait until later to install the pitot tube. There's less chance of damage to the pitot if it's tucked away on a shelf instead of hanging out waiting to get snagged in the shop.


I dinged the J-Channel with the bucking bar while riveting. (Sucks, but the show must go on.) The dent on the outside is hardly noticeable and it's on the lower skin so that's even better. I inspected as best I could for any cracking but did not find any. I don't think a repair is required and I could've just moved on, but for ease of mind I decided to make a little doubler channel. It took maybe 5 minutes and now my mind is eased.


The autopilot roll servo is installed and safety wired. This is my second attempt at my first safety wire job. Turned out pretty nice I think. Also the bell cranks are installed and torqued. I had to "polish" the inside of the bell crank tubes so they would freely rotate on the bushings.  I used a small roll of sandpaper wrapped on a drill bit and spun on a drill. Worked really well and very quickly.


RH Wing complete.


LH Wing complete.

Monday, July 8, 2013

Summer Travel and Wing Building

I  haven't posted in a while because we were visiting family in Colorado. I got a lot of work done before we left, but never had a chance to write it up. I discovered, while arriving home from work, on the Friday before we left that I had a leak in the main water line going into the house. I'll spare the details but after digging, being covered in mud, discovering it was two leaks, and a night without a shower...I finally got it fixed. So needless to say I didn't find time to update the blog prior to departure.
Here is the summary:
Mon 6/24 - 0.75hrs - Sanded skin lap joint, deburred edges of skin
Tues 6/25 - 1.25hrs - deburred edges of skin, cut pitot mount hole
Wed 6/26 - 1.25hrs - dimpled LH ribs, drilled and tapped pitot
Sat 6/29 - 1.0hr - dimpled RH ribs, test fit pitot to mount
Sun 7/7 - 2.5hrs - Finished dimpling skins


I cut the hole in the skin for the pitot tube using a variety of tools including a step drill and a dremel. Drilling the holes into the pitot tube was nerve racking. I was really worried about hitting the pitot and AoA tubes, but with a stop drill and luck there wasn't any damage. Tapping was easy and I used four short MS51957-41 Screws I ordered from Aircraft Spruce to attach it.


 The wires from the control box are long enough to poke out the bottom of the pitot mount. So the plan is to leave them hanging out when the skin is installed, connect to the wires to the pitot tube connectors and then slide the pitot into place. This will make future disconnects really easy.


Here is a better view of the tubing and wiring. The tubes will be held in place by the disconnects. Notice I made a tube guide for the blue line around the bellcrank. The power wires will go into the conduit. And the control wires are held by an adel clamp.


All the skins are dimpled and ready for install. The end of the wings is near. 


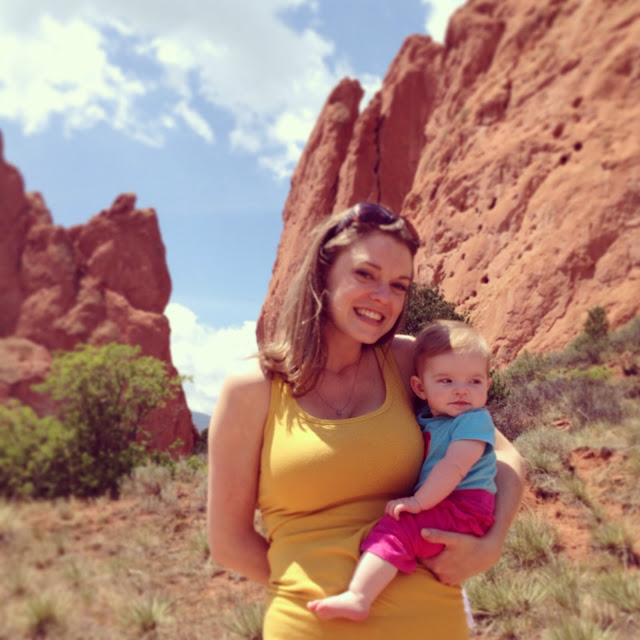
 We flew commercial to Colorado. The next flight to Colorado hopefully will happen in my own plane, but renting a slow airplane for this long trip just wasn't economical. Looking at the math I can fly us there cheaper and faster (no layovers) than the commercial guys. And when Ayla is older and we actually have to pay for her seat it would only be even more expensive making flying ourselves even that much better. We really love the Rockies and plan on doing a lot of westerly flying when the plane is finished.


We hiked around a reservoir that was at 9000' elevation....that's a normal cruising altitude for me! The hike was 15 miles and took 6 hours, but it was beautiful.