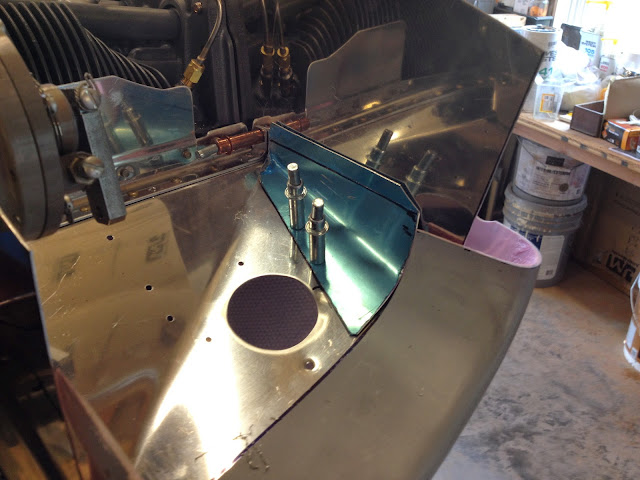
I had a a soon to be RV builder stop by the shop a few Saturdays ago. He asked to hang around for a while and rivet on some practice pieces while I supervised and advised. He said he learned a lot, so I guess it went well.
The baffles aren't bad. It brings you back to the "good-ol-days" of just smashing rivets and bending tin.
The times listed below are a mix of many different things including: baffles, oil cooler install, air intake in cowling work, etc.
Time and Dates
Sat 6 -2.5 hrs
Sun 7 -5.25 hrs-
Mon 8 -1.25 hrs
Tues 9 -1.25 hrs
Fri 12 -7.0 hrs
Sat 13 -5.5 hrs
Sun 14 -5.0 hrs
Cool shot from the loft of the shop.
After the aft baffle parts are riveted together I installed the untrimmed parts for a test fit.
Getting the aft baffles on is a PITA I wound up scratching up the valve covers. I taped them up to protect them from any more scratches.
On the LH air ramp I didn't follow the directions for trimming the part. I instead trimmed it as the marked in the picture. If you follow the directions you could have some edge distance issues with rivets in the next couple steps of the instructions.
RH air ramp bent up and clecoed in place.
LH air ramp bent up and clecoed in place.
This shows how much extra material you're dealing with on the air ramps. Things will get trimmed, A LOT, later.
I moved the scat tube intake farther back than the plans call for to prevent the lip of the cowling interfering.
This is the LH air ramp. You can see how my trim worked out. Nice edge distance on the fasteners.
I had to open the hole to clear the prop governor.
Here are all the components installed with the lower cowling in place. (Note the dancing in the background....I'm pretty sure she was entertaining Ayla :)
Next step was making the conical ramp corner gussets. I made a few templates from paper to get the idea of what kind of shape I would need. Then to the bend I gently rolled the aluminum with my hands on a piece of scrap tubing. It worked pretty well.
RH corner gusset cut and clecoed in place.
LH gusset cut and clecoed in place. I later had to remake this part. The bend I made on outboard baffle wound up pushing the ramp up 3/8 of an inch higher than the cowling lip. So I had to drill out this gusset shown and remake another to allow the ramp to sit lower.
RH gusset riveted in place. I'm really happy with the way this turned out.
I then evenly space the cowling up 3.5" to make marks for my initial cut.
I made a mark 3.75" all the way around the baffling - 0.25" lower than the cowling top - for my initial cut. I cut to that line then placed paperclips around the perimeter of the baffle. Placing the cowling back on pushed the paperclips down. Then I could go back and measure 0.5" from the top of each paperclip and this would give the points I need to have 0.5" clearance all the way around the perimeter of the baffle.
Made the cut and then removed the baffles and prepped for paint. A pile of twisted angled parts.


No comments:
Post a Comment